Viber Channel
1. Introduction
In order to use the Viber channel in the Business Messenger app, for sending messages to contacts, it is necessary to configure the Viber channel.
The Viber channel in the Business Messenger app is based on using the Viber app bot.
Viber app is an online messaging app.
A Viber Bot is a program that behaves like a normal chat with additional functions.
For every Business Messenger app Account a Viber Bot has to be created.
2. Setting Up the Channel
The following instructions are for BM Account Owner.
2.1 Creating a Viber Bot
After creating a user account on Create Account page, a Viber bot can be created.
It takes a few steps to create and set a Viber bot:
-
Create a bot account on Create Bot Account page, while logged in the Viber app with a user account that will be used as bot owner.
-
From the Viber app, using the owner account, go to 'More', click on the QR code icon and scan the code from the Viber partners page for the created bot and click the Publish button.
-
Once the bot account is created, an authentication token (also known as app key) will appear in the account's 'Edit Details' screen (for admins only).
-
The given token is used for accessing the HTTP API and should be kept safely.
The new bot is created.
2.2 Setting Up the Viber Channel in the Business Messenger App
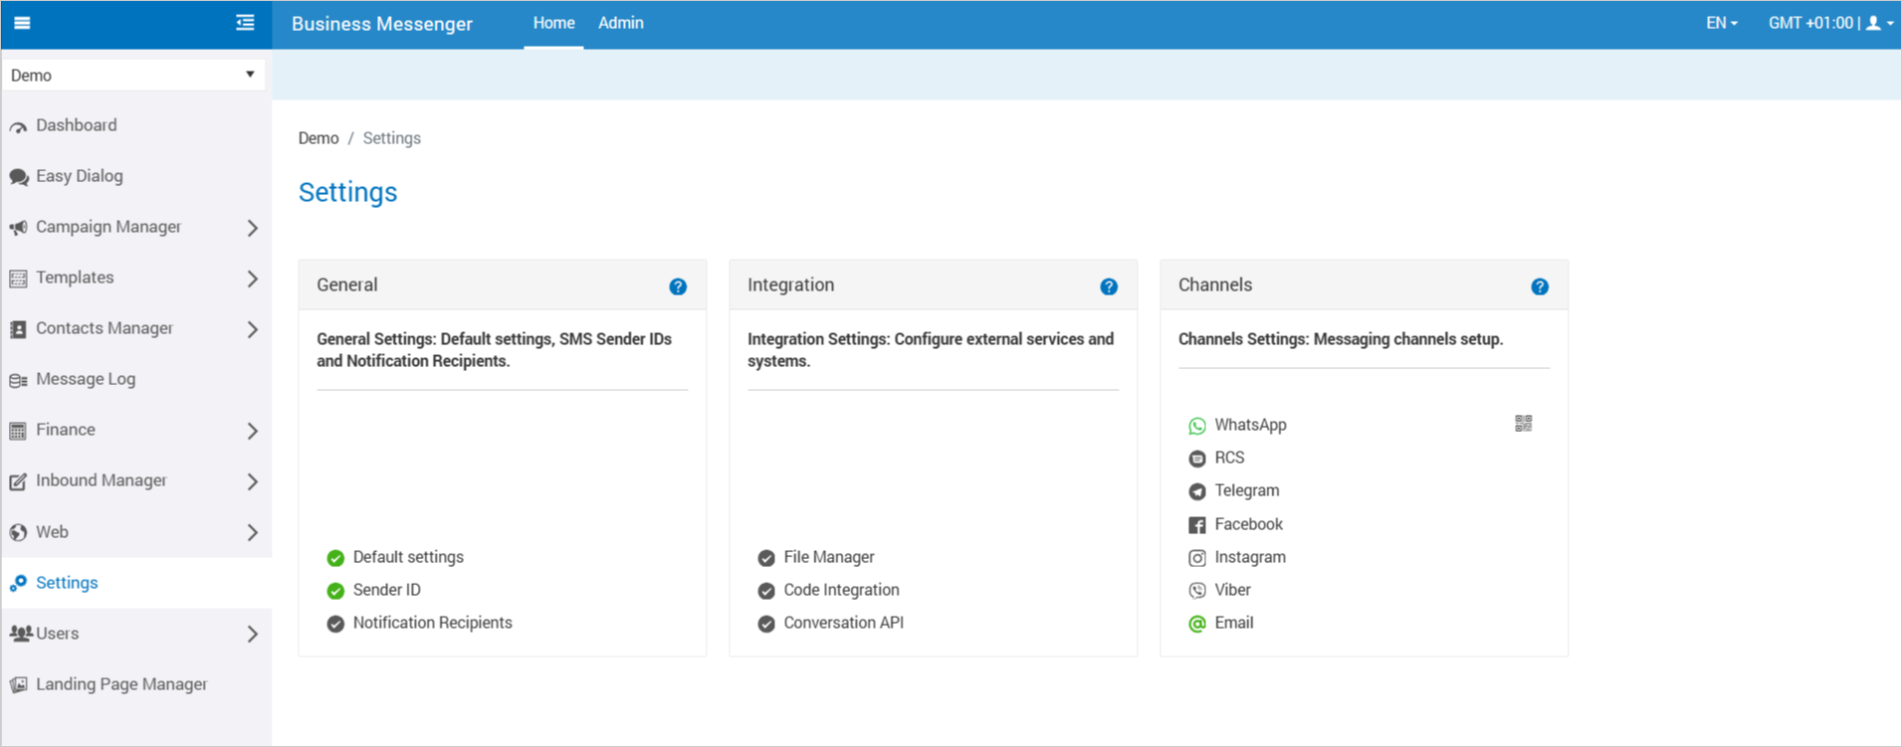
In order to connect the Business Messenger app with Viber bot that was just created, it is necessary to go to the Settings > Channels section and click the Viber channel option.

A new window will be opened, where the Viber channel can be set up.

The given Bot token has to be filled out in the Bot Token field. Clicking on the Save button will save the token and connect the Business Messenger app with Viber API.
The Bot Name, Bot URL and QR code icon will be displayed in the Channels section.

The Bot Name is useful to easily find the bot in Viber app and start chatting with it.
The Bot URL can be used for testing the bot. Clicking on the Bot URL will open the Viber app where the chat can be started and defined keywords in Opt-in/Opt-out rules can be tested.
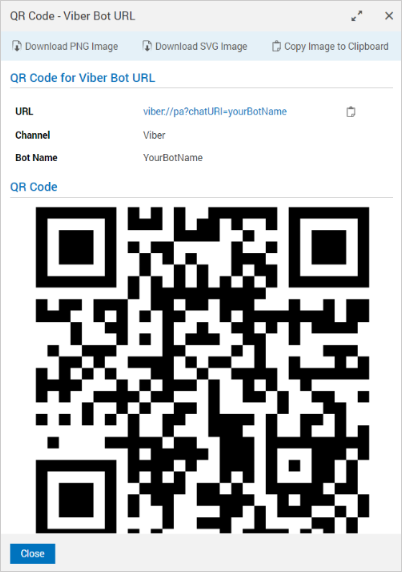
Clicking on the QR code icon ![]() will open a new window where the Viber channel details are presented.
will open a new window where the Viber channel details are presented.

The QR code allows a user to access information instantly. Scanning the QR code with the scanner on a mobile phone, will open the Viber app and start chatting with the bot.
QR code can be downloaded as PNG and SVG, and can be copied to clipboard by using the given options at the top of the opened window.
2.3 Setting Up the Opt-in/Opt-out Rules
In order to tell the Viber bot what to do, Opt-in/Opt-out Rules should be created in the Business Messenger app Inbound Manager > Viber section.
Creating Opt-in/Opt-out rules is very important. Without defined Opt-in/Opt-out rules and configured keywords, no contacts will be stored, since there is no definition about if and how to store new subscriptions.
In the Inbound Manager Viber section, clicking on the Add Viber Inbound Rule button, will open a new window where, for the selected rule Type - Opt-in or Opt-out, a Keyword should be set up. A Keyword is a kind of command that a bot will understand and do a specific action. A keyword is a text a Viber user is expected to send for a rule to be activated and should be unique, meaning that two rules can not have the same keyword.
There should be defined rules for Opt-in and Opt-out for all communication or for some specific subscription.
3. Updating the Channel Configuration
From the Business Messenger app Settings > Channels section by clicking the Viber option, a new window will be opened where the channel configuration data are presented.
For the Viber channel, the Bot token can be updated by filling out the Bot Token field with the new token. Clicking on the Save button will save the changes and connect the Business Messenger app with the API.